Instructor Ed Jones has over 30 years of experience in theindustry, has the title of MasterWater Restorer, is an Institute ofInspection Cleaning andRestoration Certification (IICRC)-approved instructor, and hasserved on the S500-2021consensus body committee todevelop the most recent standard.
Drying a crawlspace can be one of the more difficult drying situations restorers are faced with in residential settings. OSHA has developed a standard for Confined Spaces in Construction (29 CFR 1926 Subpart AA) and it is the restorer’s responsibility to determine if the specific crawlspace could be a dangerous situation that would require a special permit be issued to work in the crawlspace. *https://www.osha.gov/sites/default/files/pub lications/OSHA3914.pdf
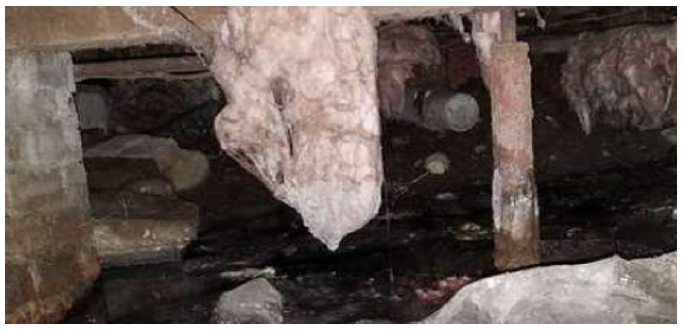
Most crawlspaces aren’t “permit-required,” but that doesn’t mean normal crawlspaces don’t have safety issues, e.g., nails, electrical conduits, gas lines, mold, insects, rodents, snakes, high humidity, etc. that the restorer needs to consider when developing their drying plan. In addition, there can be limited accessibility that makes it difficult to take readings and place drying equipment effectively. Because crawlspaces are typically unconditioned outside atmospheric conditions will impact the drying more than normal. If the crawlspace doesn’t have a vapor barrier over the ground soil that could be an added complication. The IICRC S500-2021 states that the drying effort should focus on the structure, rather than the soil.
See some tips below on how to dry crawlspaces effectively:
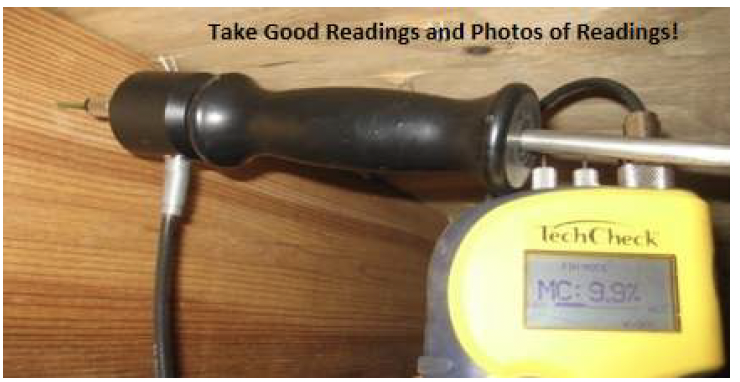
1. Crawlspaces are classified as confined spaces and any technicians entering a confined space must be trained on wearing PPE and working in those types of conditions and following safety precautions in accordance with OSHA regulations. 2. Take good photos documenting any safety hazards, accessibility issues, complications, etc. to validate your billing, including your containment, initial equipment set up, technicians wearing PPE, etc. 3. The crawlspace should be placed under negative air pressure before the crawlspace access door is opened by placing an airmover in front of a crawlspace vent from the outside to draw the air out of the crawlspace, especially if the access door is inside the structure. If door to crawlspace is in a closet then placing that closet under containment would be advisable prior to entering the crawlspace. You don't want to share indoor air with crawlspace air and if you place airmovers in the crawlspace you could push air into the occupied space through cracks and penetration points! 4. After placing the crawlspace under negative air pressure and performing the initial inspection, the mitigation contractor should pump or vacuum standing water from ground soil or from pooled water on the vapor barrier. If there is no vapor barrier the soil may be able to be "trenched" to have the water drain to the lowest point to make it easier to extract standing water. 5. Wet organic debris should be removed from the crawlspace, including wet or contaminated insulation. 6. Vapor barriers should be in good condition to prevent on-going evaporation from wet ground soil. Do NOT remove or puncture vapor barriers that are in adequate condition. 7. Accurate moisture readings using a penetrating moisture meter should be taken on any potentially affected wood subfloors or joists so the affected area can be contained. Photographs of the moisture readings should be provided, as well as photos of any containment, drying equipment set up, and how the negative air pressure was established. If there is increased liability from contaminated water, it would be prudent to take photos of a manometer proving negative air pressure was achieved.
8. Negative air pressure is most easily achieved by placing a centrifugal air mover in the crawlspace, using lay flat ducting to blow the air outside the crawlspace through a crawlspace vent. It is NOT necessary to use an air filtration device or negative air machine to create negative air pressure in a crawlspace.
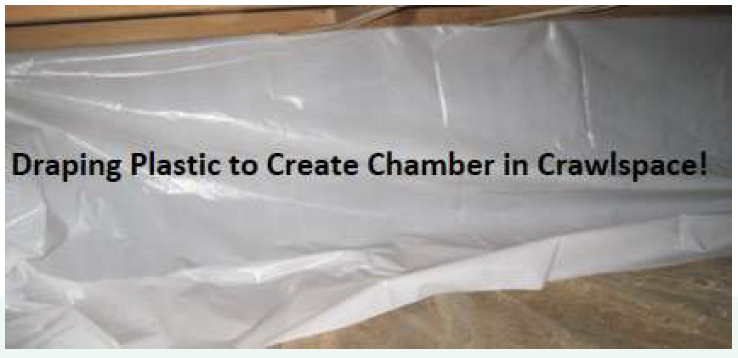
9. Focus the drying on the smallest area possible by stapling plastic to floor joists so dehumidified air or heat can be focused on the wet wood subfloors and floor joists. Be sure to exhaust air from the other side of the containment to an outside vent to establish negative air pressure.
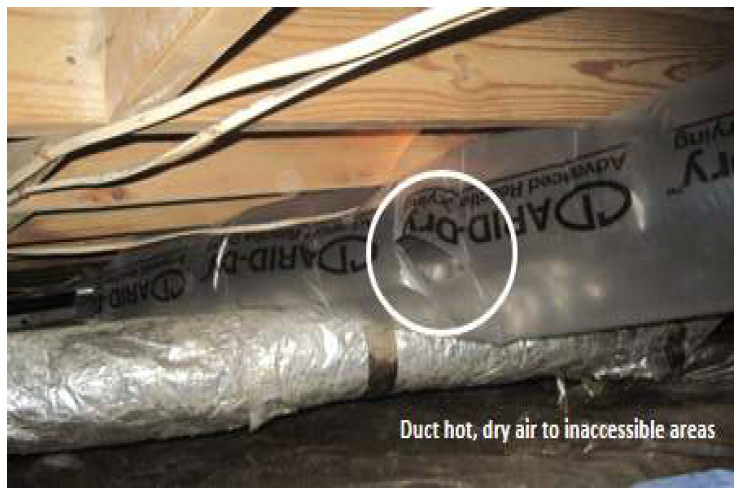
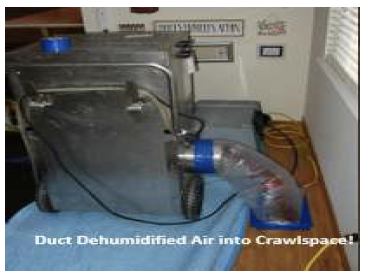
10. In cold weather desiccant dehumidifiers and heat drying units work well in crawlspaces because they work well at lower temperatures, heat rises, and desiccant dehumidifiers can create a lower vapor pressure. 11. Air movers may be needed as well to promote evaporation from wet subfloors and floor joists. Normally centrifugal air movers work best due to their lower profile and ability to be pointed up without use of a stand. The industry standard formula states to place 1 air mover per room (crawlspace), plus an additional air mover for every 100-150 SF of ceiling that is wet. 12. If there is not enough room for your dehumidifier you can duct dehumidified air into the crawlspace through lay flat ducting, cutting holes about every 2' to allow dry air to blow onto the wet subfloor and joists.
13. Take DAILY readings! Just because working in crawlspaces is more difficult doesn't mean we don't take readings every day. Take photos of your readings and show your moisture points on your Moisture Map separating the ceiling into quadrants (A,B,C,D, etc.) of 100-150 SF each. 14. If there is no vapor barrier over the wet soil or it is in poor condition you may have to install a vapor barrier to restrict evaporation from wet ground soil that could delay drying of materials. 15. If HVAC vents are on the floor, you may be able to duct your dehumidifier into the crawlspace through those floor vents.
16. Take wet surface temperature readings with your IR thermometer if utilizing heat to help dry the crawlspace. This is critical if trying to bill for extended drying days for you will need to show your success at creating the best vapor pressure differentials possible under the circumstances.
17. If the conditions outside are favorable for drying you may be able to use an Open Drying System to ventilate high humidity outdoors. 18. Provide a good sketch to go with your photos to tell your story of how you dried the crawlspace and be sure to show where you took your readings with a penetrating moisture meter to prove you left all wood materials less than 20% moisture content. Crawlspaces are great habitats for mold, so you need to be sure to document how you left the crawlspace (photos of final MC readings and clean wood subfloors and joists) and be sure you time/date stamp your photos!
Contractor Newsletter
Sign up today to receive quarterly tips on best practices in home repair, growing your contracting business, and more.