Many restorers are pretty good at drying out structures and contents, but few are great at documentation and telling their drying story well.
“It’s one thing to perform well and quite another to document you performed well.”
The ANSI/IICRC S500-2021 Professional Standard for Water Damage Restoration states that restorers should be good at administration, including:
- Use of written contracts
- Good communication with all involved parties
- Thorough project documentation, monitoring, and recordkeeping
This means the restorer must keep all materially interested parties informed of their drying strategy and whether it is working or not.
The S500-2021 states that a materially interested party is an individual or entity substantially and directly affected by the water damage restoration project. This may include the property owner, restorer, insurance carrier or adjuster, and potentially a Third-Party Administrator, also known as a TPA.
In my role as an IICRC-approved instructor in water damage restoration and applied structural drying, and with more than 40 years of experience in this industry as a technician, manager, owner, trainer, S500 consensus body committee member, expert witness, and more, I have seen a lot of issues related mainly to poor communication and documentation.
I often tell restorers that it is better for me to say you did it right than it is for you to say you did it right. Help me help you by providing a detailed, defensible file that tells your mitigation story well and protects not only the property owner and insurance carrier, but also you and your company.
What Should Be Included in Your Mitigation Story?
Telling your mitigation story involves many important pieces of documentation. Below are key items that should be included.
1. Timeline of the Project
Your file should include a clear timeline of the project, including:
- Emergency response
- Comprehensive inspection
- Communication of your drying plan
- Signed Work Authorization
- Start of mitigation
- Daily monitoring
- Adjustments to your drying plan when needed
- Completion of mitigation
- Signed Certificate of Completion or Satisfaction form
A strong timeline helps show what happened, when it happened, and how your team responded throughout the project.
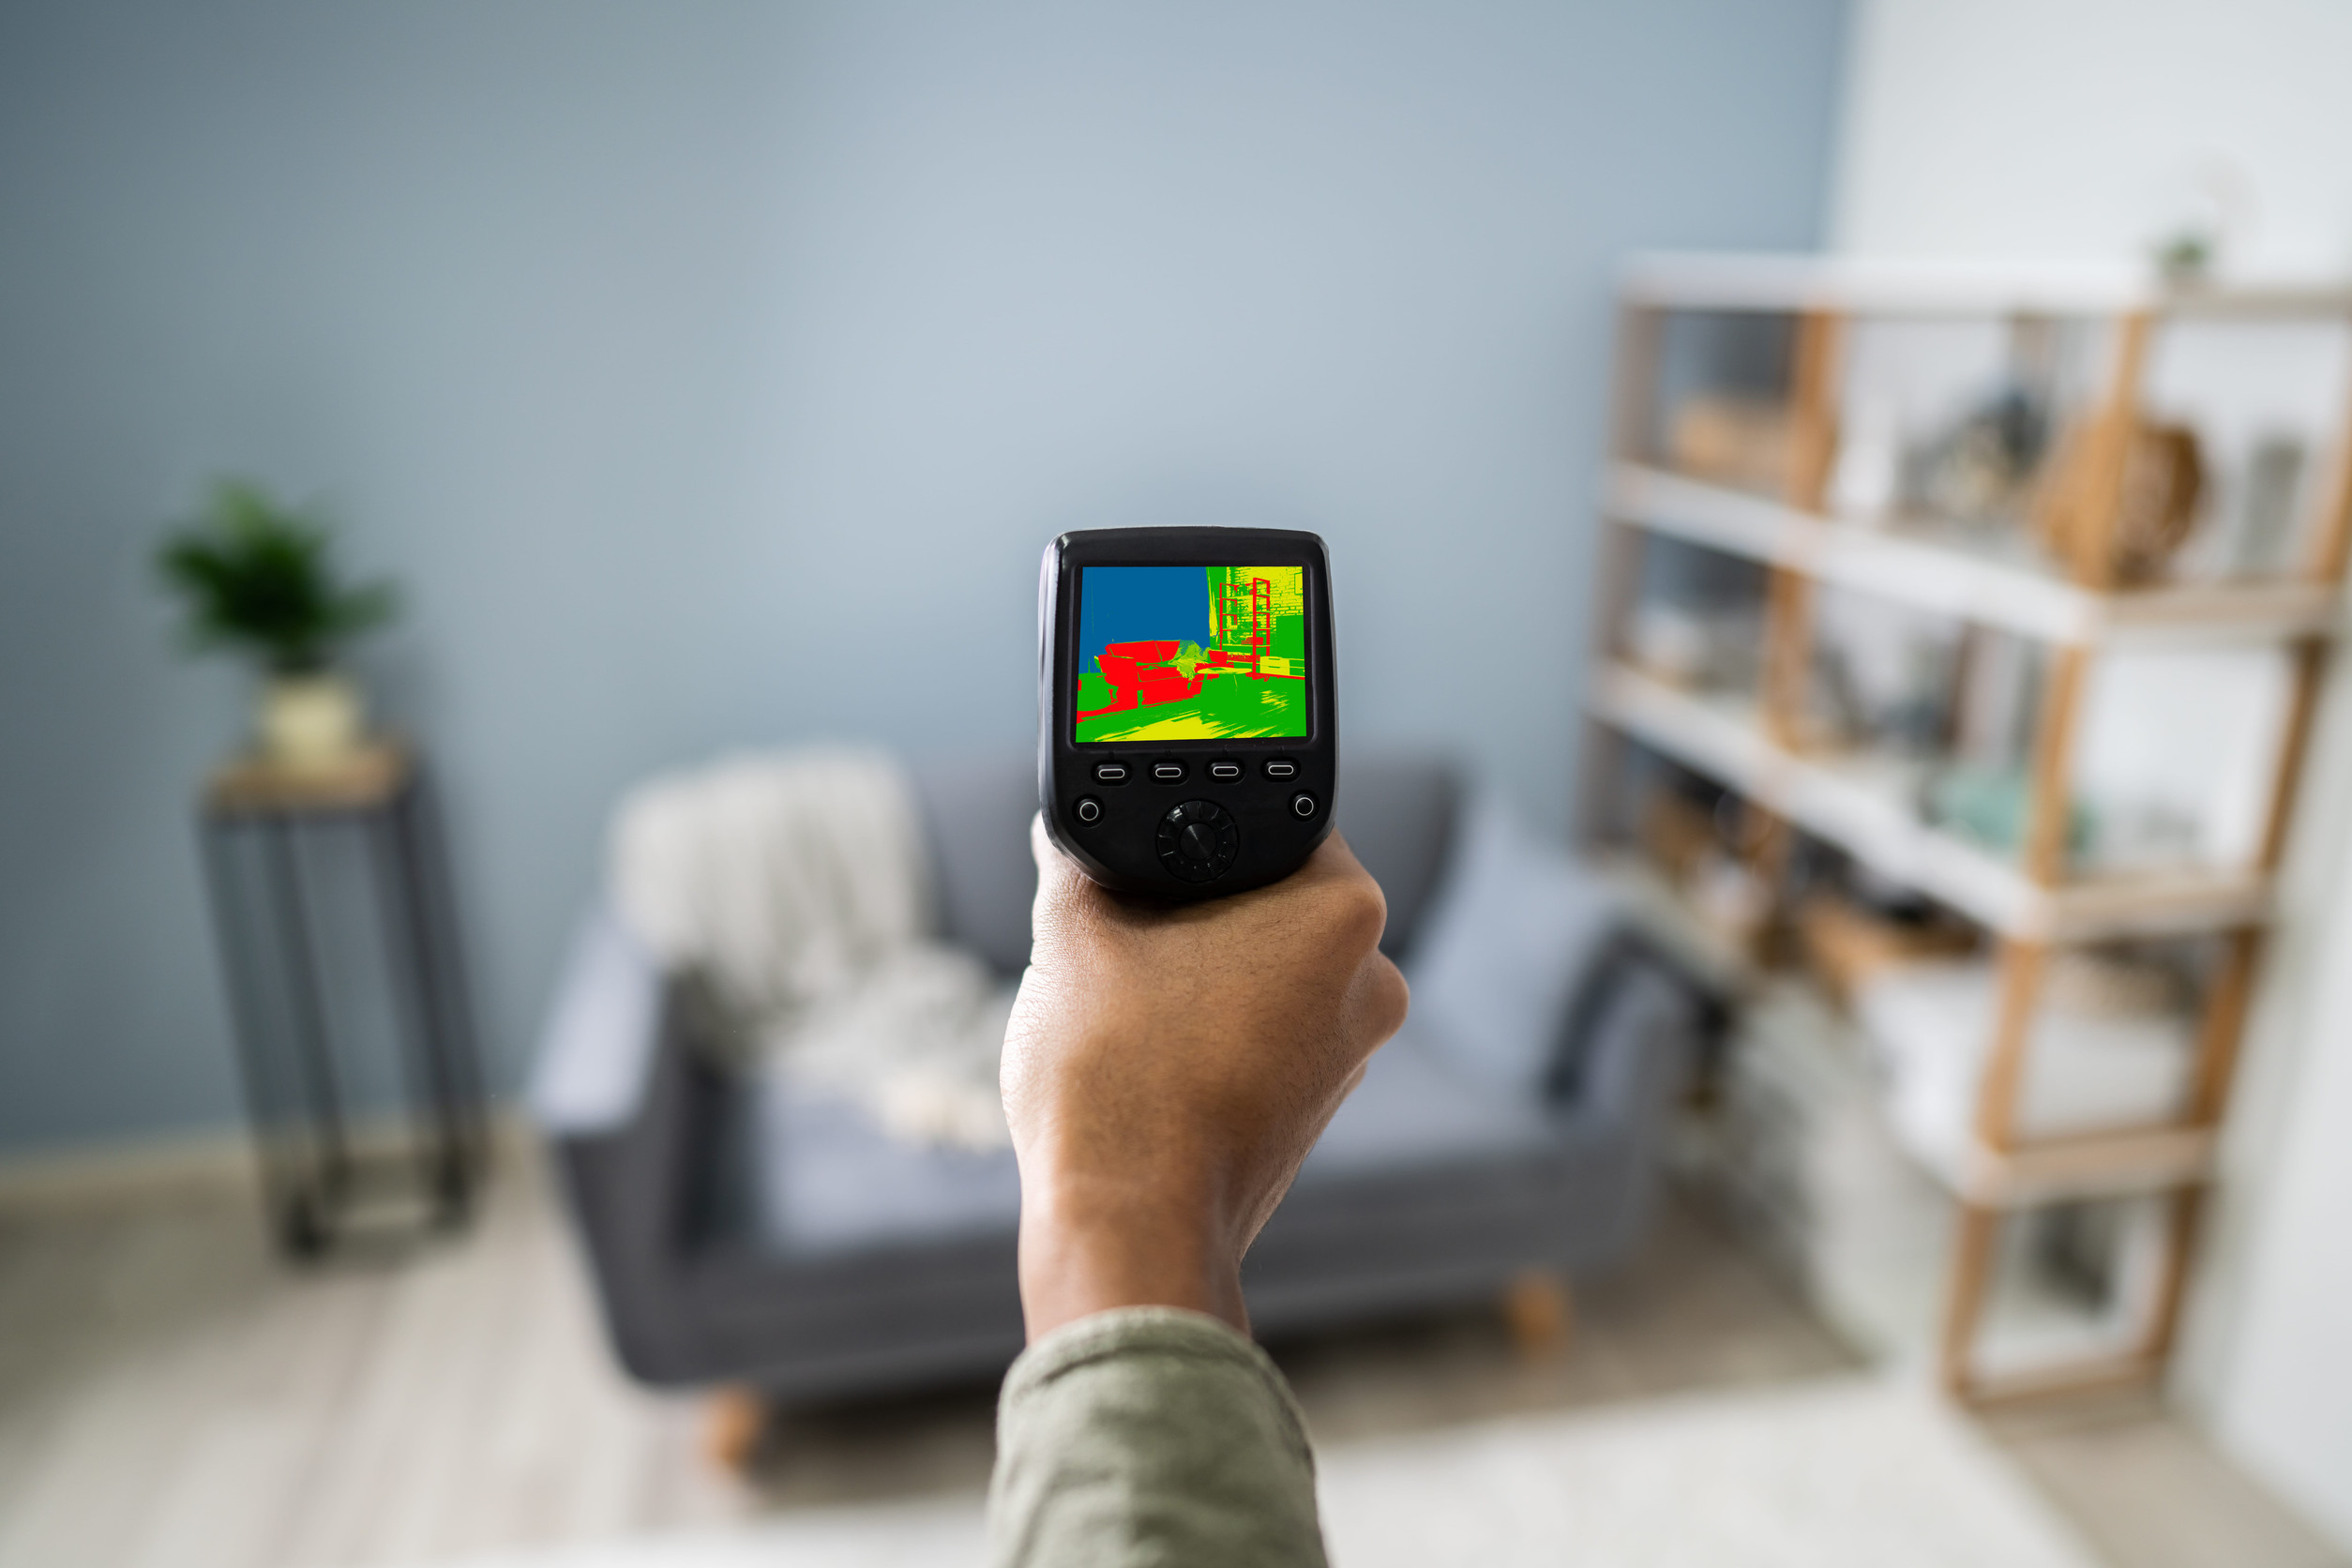
2. Well-Labeled Photos
Photos are one of the most important parts of a water mitigation file. Your photos should be well-labeled and clearly show:
- Outside of the risk
- All affected rooms
- Extent of damages
- Containment
- Negative air pressure setup
- Initial equipment setup
- Before and after demolition
- Reasoning for why demolition was necessary
- Amounts of debris
- Personal Protective Equipment, or PPE, if used
- Dry standard readings to validate drying targets
- Final moisture content readings of the materials being dried
- Completion photos showing all areas left clean and organized
The goal is to create a visual record that supports the decisions made during the mitigation process.
3. Psychrometric and Moisture Content Readings
Your documentation should include daily psychrometric and moisture content readings. These readings should include:
- Outside readings
- Inside affected areas
- Inside unaffected areas
- HVAC readings
- Dehumidifier exhaust readings
- Moisture content readings
When possible, a penetrating moisture meter is preferable. These readings help validate the length of drying time and show that drying goals were reached.
4. Moisture Map
A moisture map shows where moisture content readings were taken each day. These are typically labeled by wall, room, area, or quadrant.
Examples may include:
- Living Room / Wall 1 / Sill Plate / Day 3 / 15%
- Kitchen Hardwood Floor / Quadrant A / Day 5 / 15%
A good moisture map, combined with moisture content records and photo documentation, can go a long way in proving that materials were left in a condition that would inhibit microbial growth.
5. Sketch
Your file should include a sketch showing how the structure is laid out. This should include:
- Affected areas
- Unaffected areas
- Dimensions
- Doors
- Windows
- Offsets
- Insets
A detailed sketch helps support the scope of work and gives all materially interested parties a clearer picture of the project.
6. Antimicrobial or Biocide Signed Consent Form
If the loss involves Category 2 or Category 3 water, include a signed consent form for any antimicrobial or biocide application.
This helps document that the customer was properly informed and that consent was obtained before treatment.
7. Manometer Readings
Manometer readings help show air pressure differentials. These are especially important if the project involves contaminated water or if high-risk individuals are present during mitigation.
Proper pressure documentation can help support containment and safety decisions.
8. Pre-Existing Conditions
Your documentation should show any pre-existing damage to the structure or contents. This may include:
- Previous damage
- Potential microbial growth
- Location of damage
- Material affected
- Square footage affected
- Whether the condition is related to the current water loss
Be sure to note any signs of long-term damage, continuous seepage, or rot, and alert the adjuster.
Remember: provide good documentation and allow the adjuster to handle insurance coverage determinations.
9. Potential Hazardous Materials
Your file should note any potential hazardous materials that may be disturbed during mitigation. This may include:
- Asbestos
- Lead paint
- Other regulated materials
If these materials need to be disturbed to properly complete the work, all local, state, and federal regulations and laws must be followed.
10. Mitigation Invoice
Your mitigation invoice should include detailed F9 notes that explain:
- Number of pieces of equipment used
- Amount of debris removed
- Use of PPE
- Length of drying time
- Any extenuating circumstances that impacted the mitigation process
Strong invoice notes help support your file and may help you get paid quicker.
Final Thoughts
Be great at telling your mitigation story. It can pay huge dividends by better protecting you and your company, while also protecting your customer.
A detailed, defensible file helps show that the work was performed properly, that drying decisions were supported, and that communication with materially interested parties was handled professionally.
For more EDucated articles, visit Accuserve.